
4 Rules for a Stress-Free Move
Proper packing and moving are very essential in many cases such as if you got a transfer or you nee...
Read More
Proper packing and moving are very essential in many cases such as if you got a transfer or you nee...
Read More
A Guide to Commercial Relocation in Perth Commercial relocation comes with a lot of responsibilities...
Read More
A Guide to Moving Interstate From Perth to Sydney - Get Stress Free Moving Solutions Relocating your...
Read More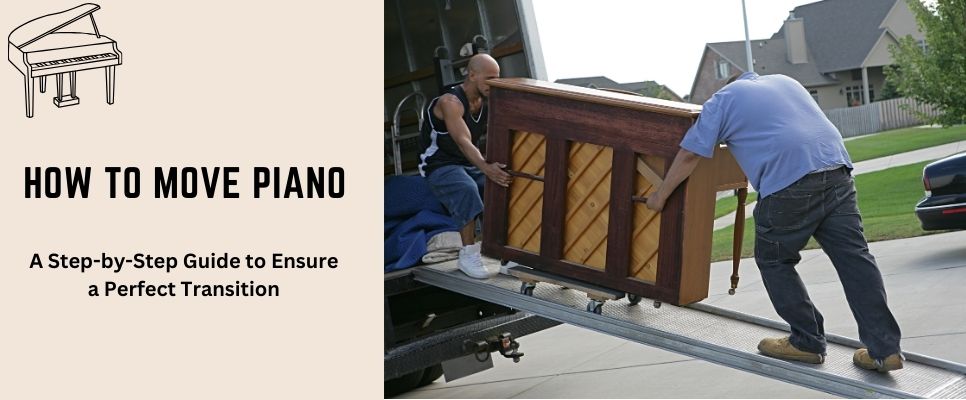
The Complete Guide to Moving a Piano Without Damage Moving awkward objects can be challenging, no ma...
Read More
Storage Solutions: Making the Most of Your Removals Experience When it comes to keeping your items o...
Read More
Moving into a new location calls for proper planning. The planning involves time management, packin...
Read More
Relocating to Darwin? 6 Incredible Insights into Life in the Northern Territory's Capital! If you wa...
Read More
Are you shifting? Do you need to start packing to move house? But you have no idea how to do that?...
Read More
A Life-Changing Guide with Tips, Facilities, and Expert Advice Considering a career move to Melbourn...
Read More